
Here's how you make them...

You'll need to pick out patterns of the objects that you want present on your plaques. I just did a image search on google and found a bird, a heart, and a tulip for my images. You'll need pretty fabric for your patterns, a base fabric to wrap the plaques ( I chose burlap), heat n bond, an iron, scissors, a staple gun, a hammer, and a hot glue gun if you are going to be gluing any embellishments.

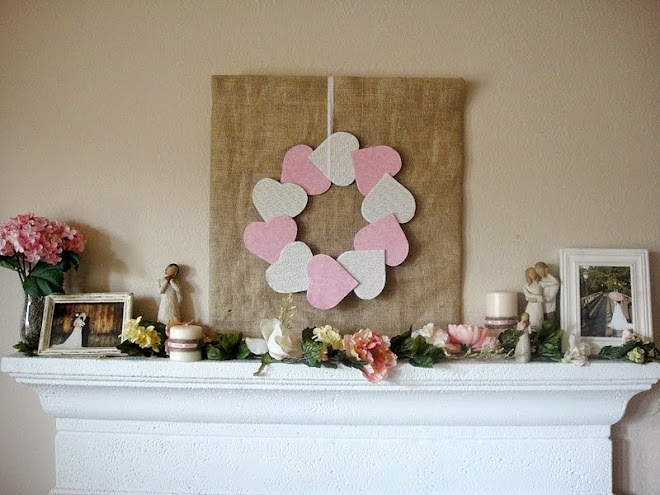
I've had these wooden wall plaques hanging in my kitchen for a long time. I still like them and didn't want to damage them by painting them so I decided that I would just cover them up. This is where this idea was birthed! You can use anything that you have around the house or find at garage sales, just as you can get it to hang on your wall! Or you could even display these on small easels. That would look really cute too!

So you'll want to start with a large piece of your base fabric. This burlap was left over from our wedding and the piece that you see above actually was used as a wax catcher underneath the unity candle. How cool is it that when I look at the bird plaque I'll be reminded of that happy day =)


You should make sure that the fabric piece is large enough to cover the entire front of your plaque with enough over hang to be wrapped around and stapled to the back. You don't have to measure it out-just eye ball it.


In order to make the edges sharp and clean, I cut the fabric at each corner so that they would fold back nicely.
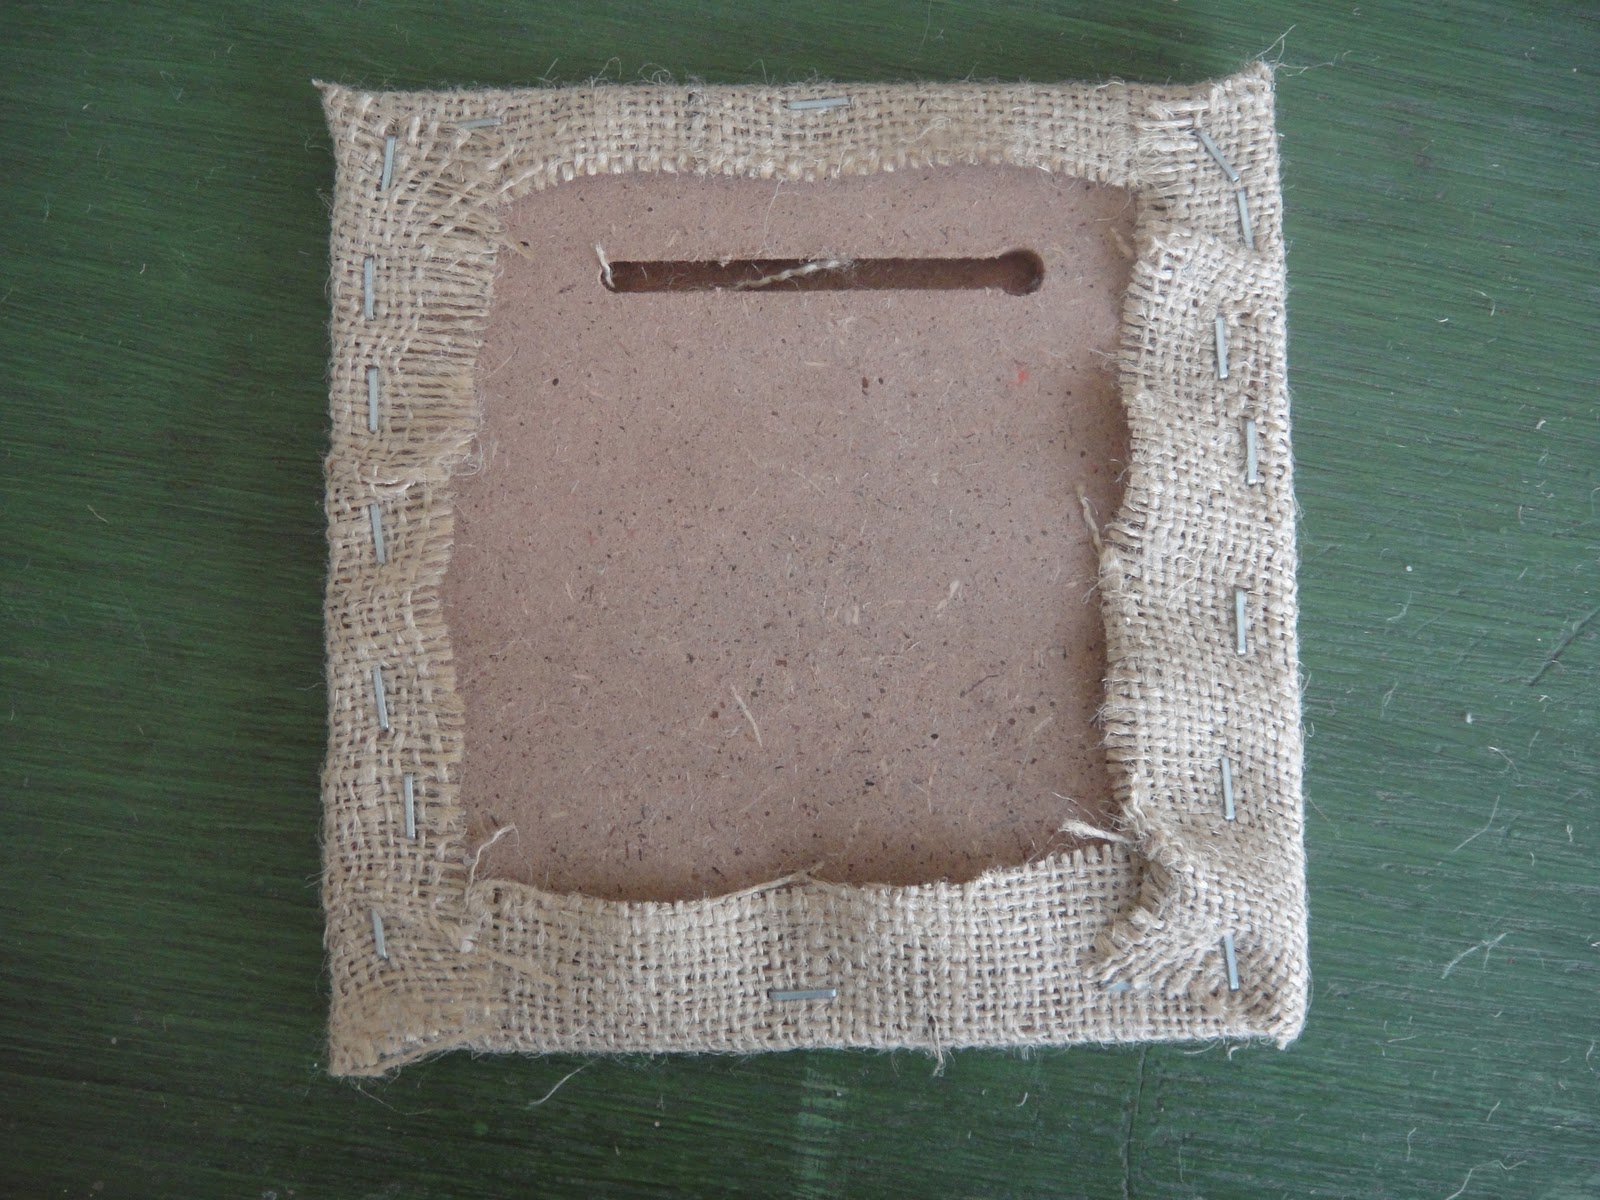
After you have all the fabric stapled to the back, you will want to hammer in any staples that did not get flush to the back of the plaque.


Next, you'll want to pin and cut out each of your patterns. I love the fabric for this bird!

For the wing, I chose a fabric that would really contrast with the body. Follow the directions for the heat and bond for each piece of your pattern. This is used as a no sew approach and it's so fast and easy. After all the pieces of your fabric have adhesive backing, iron on to your plaque and add any embellishments that you need to (I hot glued a button for the eye) and voila you are done!

I made a heart and tulip for the remaining plaques and they look so nice hanging in my kitchen! I love re-purposing my old home decor into something new and fresh! I think I hear some tin plaques begging me to cover them with something lovely ;)


Love them!!! And esp love that it's NO sew ;))) Thanks for sharing!! I will have to try this!! Thanks again for the inspiration!!
ReplyDeletehttp://jandmseyecandy.blogspot.com/