We don't really have an entry way to our house, and it's kinda annoying. Everyday when I leave for work, I have my fancy Coach purse, my lunch box, and a tote back with my gym clothes. That's a lot for one person, not to mention a mom. Add to that a diaper bag, a nap mat, milk, diapers, wipes. Sheesh. That's a lot of stuff. When we come home every day, my purse goes on one of our extra dining room chairs (I have a strict rule that Coach NEVER goes on the floor-I work hard to spoil myself!) and the rest gets thrown on the floor. It makes the room looked so cluttered and I never really know where anything is. So I talked Justin into making me a hall tree.
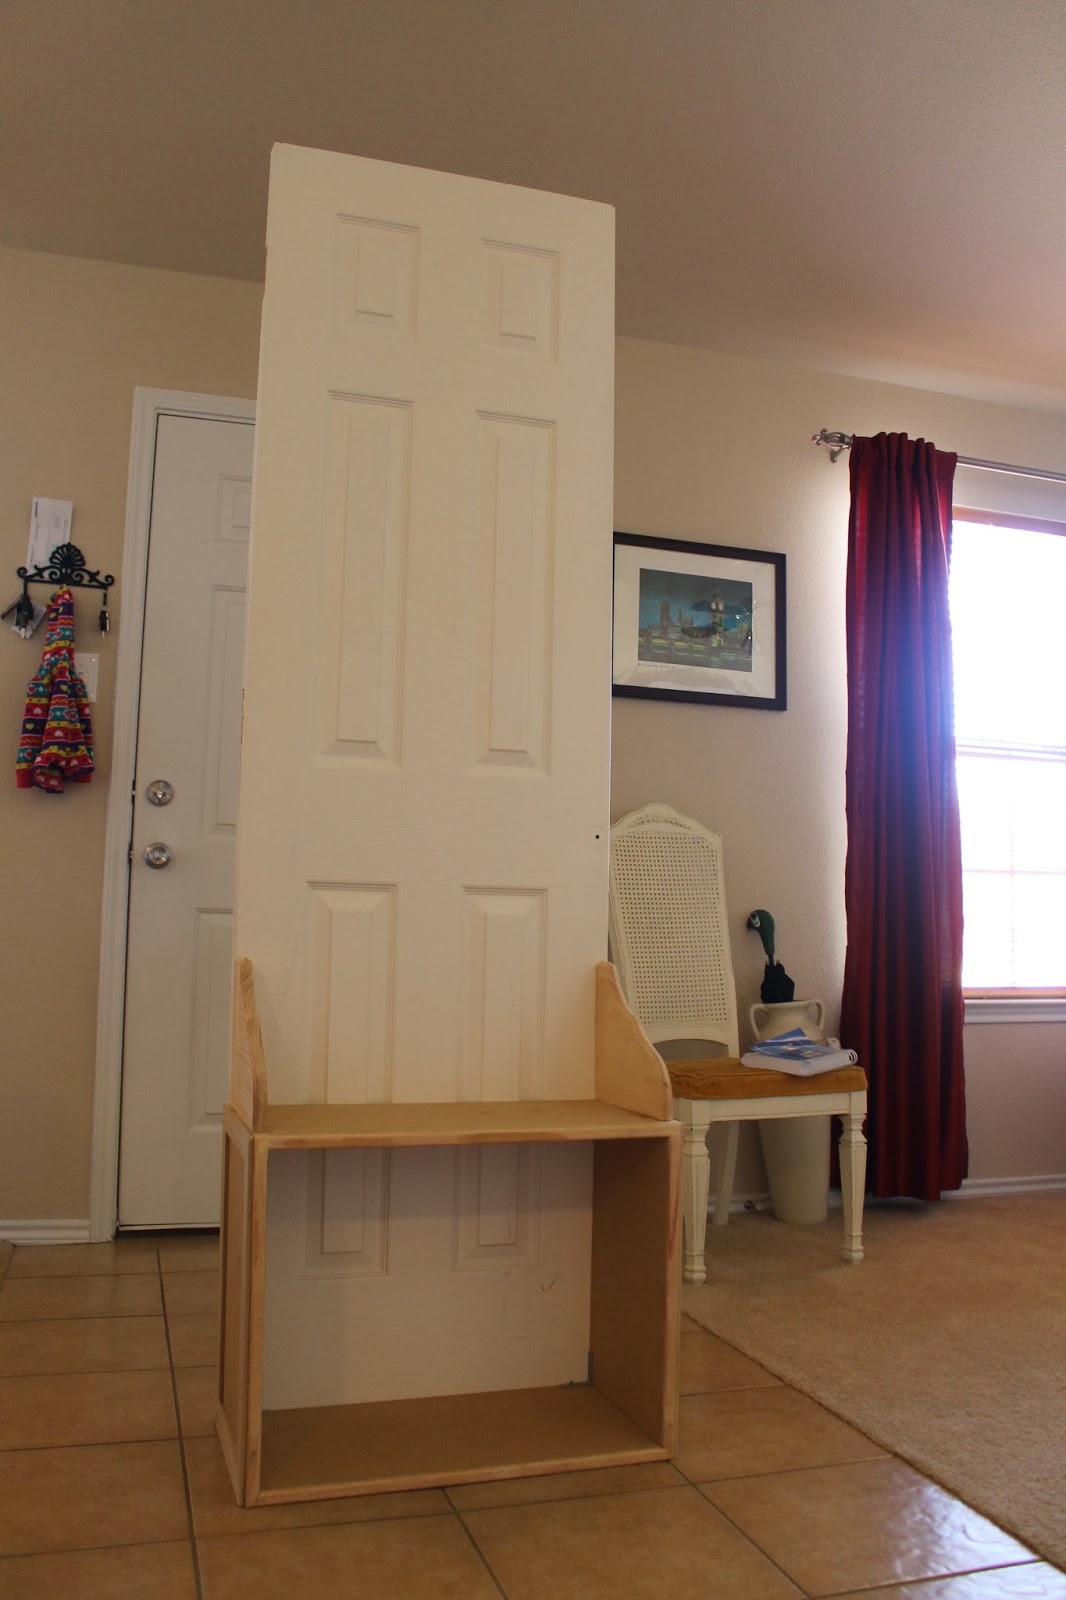
We repurposed a closet door that I bought from Restore for $10. I have seen these pop up all over Pinterest and I fell in love with the idea.
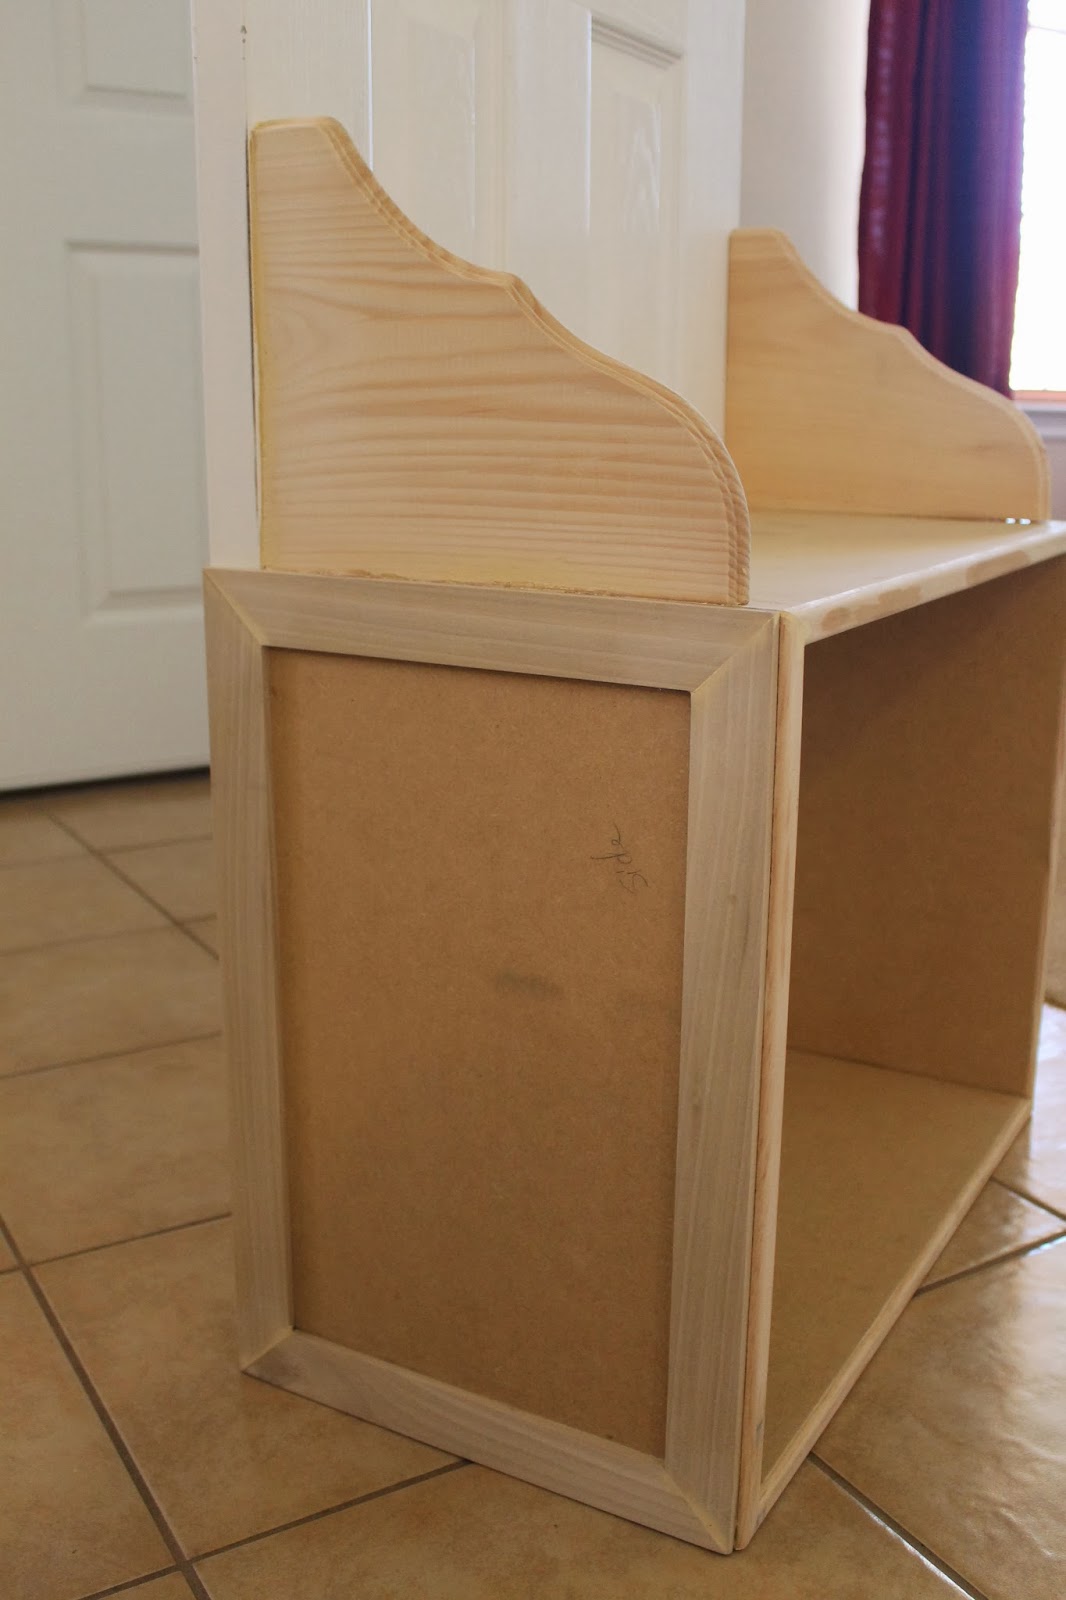
We bought MDF board (because it was cheap. Normally we would have used a better wood) and cut it to create a box that would be attached to the door.
I didn't want my bags falling onto the floor, so we bought wood shelf brackets and attached them to each side. We wanted the hall tree to have a simple look and feel to it, so we added trim to the front and sides of the MDF box to give it a nice touch.
We used Valspar Signature paint in creme fraiche in a satin finish. This is the perfect white. Not too bright, but no hint of yellow. The satin finish is sleek. Just glossy enough to wipe normal wear and tear marks off, but not enough where it has a glean to it.
You can see the trim detail here after it was painted and it gives it just the right look to keep in with my rustic décor.
The legs we repurposed from Justin's old night stands. We have converted the night stands to another project (that I haven't had a chance to write about) and we had 4 left. I think lifting the hall tree up off the floor makes it look so classy.
I found the coat hooks and the door knob from Hobby Lobby. We had already been using the key holder and decided to keep it. It was just screwed into the wall, so I think it will like it's new home.
The door knob is not actually a real knob, more like a décor piece that we placed to look like an old knob. It had a wall hanger on the back but we were able to use screws on each side to hold the knob in place.
I really love how it turned out. It was such a simple project and we were able to finish it up in just 2 afternoons (even with a 1 year old running around!) They only thing I would have changed was maybe to add some kind of ring or something on the side to store umbrellas. But that would be easy to add in later. I might also add a shelf to the top, but I think it looks great without it.
Total Price for the Project: $42
Door: $10 from Restore
MDF Board: $8
Wooden Brackets: $6
Trim: $3
Legs: Repurposed from nightstands
Paint: Left over from another project
Coat Hooks: $9
Key Holder: What we were currently using
Door Knob: $6
Now we have a place to put all of our things. It's been so nice to have everything together in one place to grab to head out the door or to empty our arms when we get home.


No comments:
Post a Comment