My sister, Em, is moving into a new apartment this semester and she doesn't have much of a budget to spend on home decor. I told her "No, problem! Let me make ya something!" Big sister to the rescue! ;)

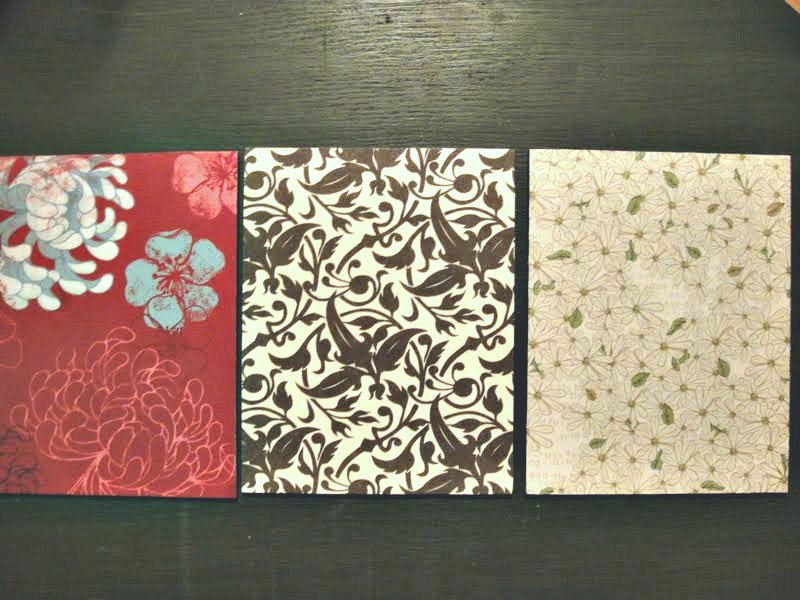
So I thought I'd make some scrapbook paper wall plaques for her. It seems that everyone in blogland has done their own version of these, so now it's my turn! I helped Em pick out 3 pieces of scrapbook paper that coordinated well together. Then I went by Dollar Tree and picked up 3 wall plaques.

I slathered on some Mod Podge on the front of each plaque.

And then I laid the front of the plaque on the back side of each piece of scrapbook paper. Don't be like me and totally screw this step up. I had to do this plaque 3 times! The first go round I totally messed it up and even had to go by some different paper (it all worked out for the best because my sister actually liked the 2nd choice paper better and it coordianted better with the other paper). MAKE SURE YOU PUT THE BACK SIDE OF THE PAPER TO THE FRONT SIDE OF THE PLAQUE. Otherwise, you'll feel like me....a complete and utter moron. ha ha.
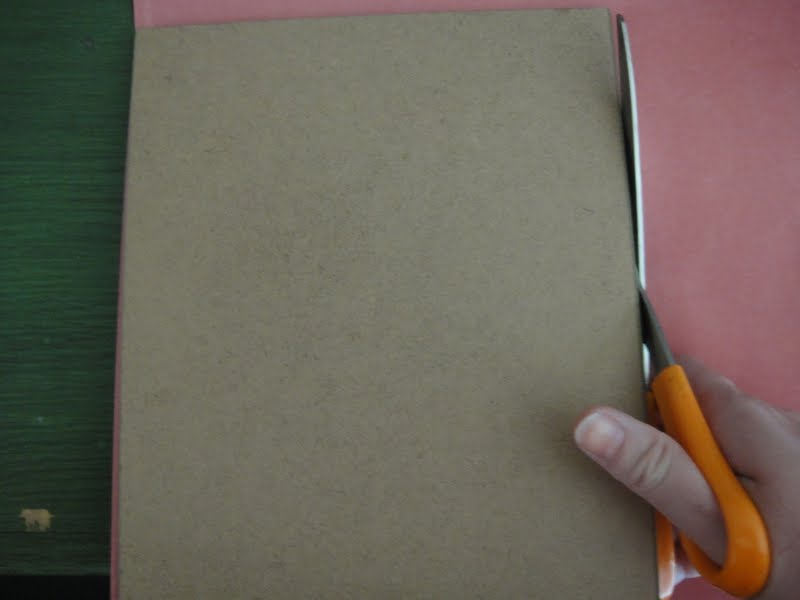
After the Mod Podge dries, cut your paper off the plaque. Go slow and keep your scissors up against the plaque so you don't have any paper over hanging.

Then apply 2 thin coats of Mod Podge to the front of each plaque to seal it and protect it.
And that's how easy it is!

I wrapped them with jute, made a little tag, and they are ready to give to my sister! Em, I hope you like your wall plaques and let me know if I can make something else for you!
Linking to:


Linking to:


Super cute and so easy! This would be fun to do for the different holidays too!
ReplyDelete